Peeling Decorative Paper from Cardboard
Some cardboard comes with a beautiful paper covering that you can use to your advantage.
If you just like the paper and don’t want to work with something as thick as cardboard, you can (usually) remove the paper from its backing. It’s not always easy – perhaps the quality of paper varies and some types of adhesive release more easily that others.

This facial tissue box has a lovely paper covering!

Carefully deconstruct the box along the glued edges, rather than ripping across the materials, in order to keep as much of the pattern intact as possible.
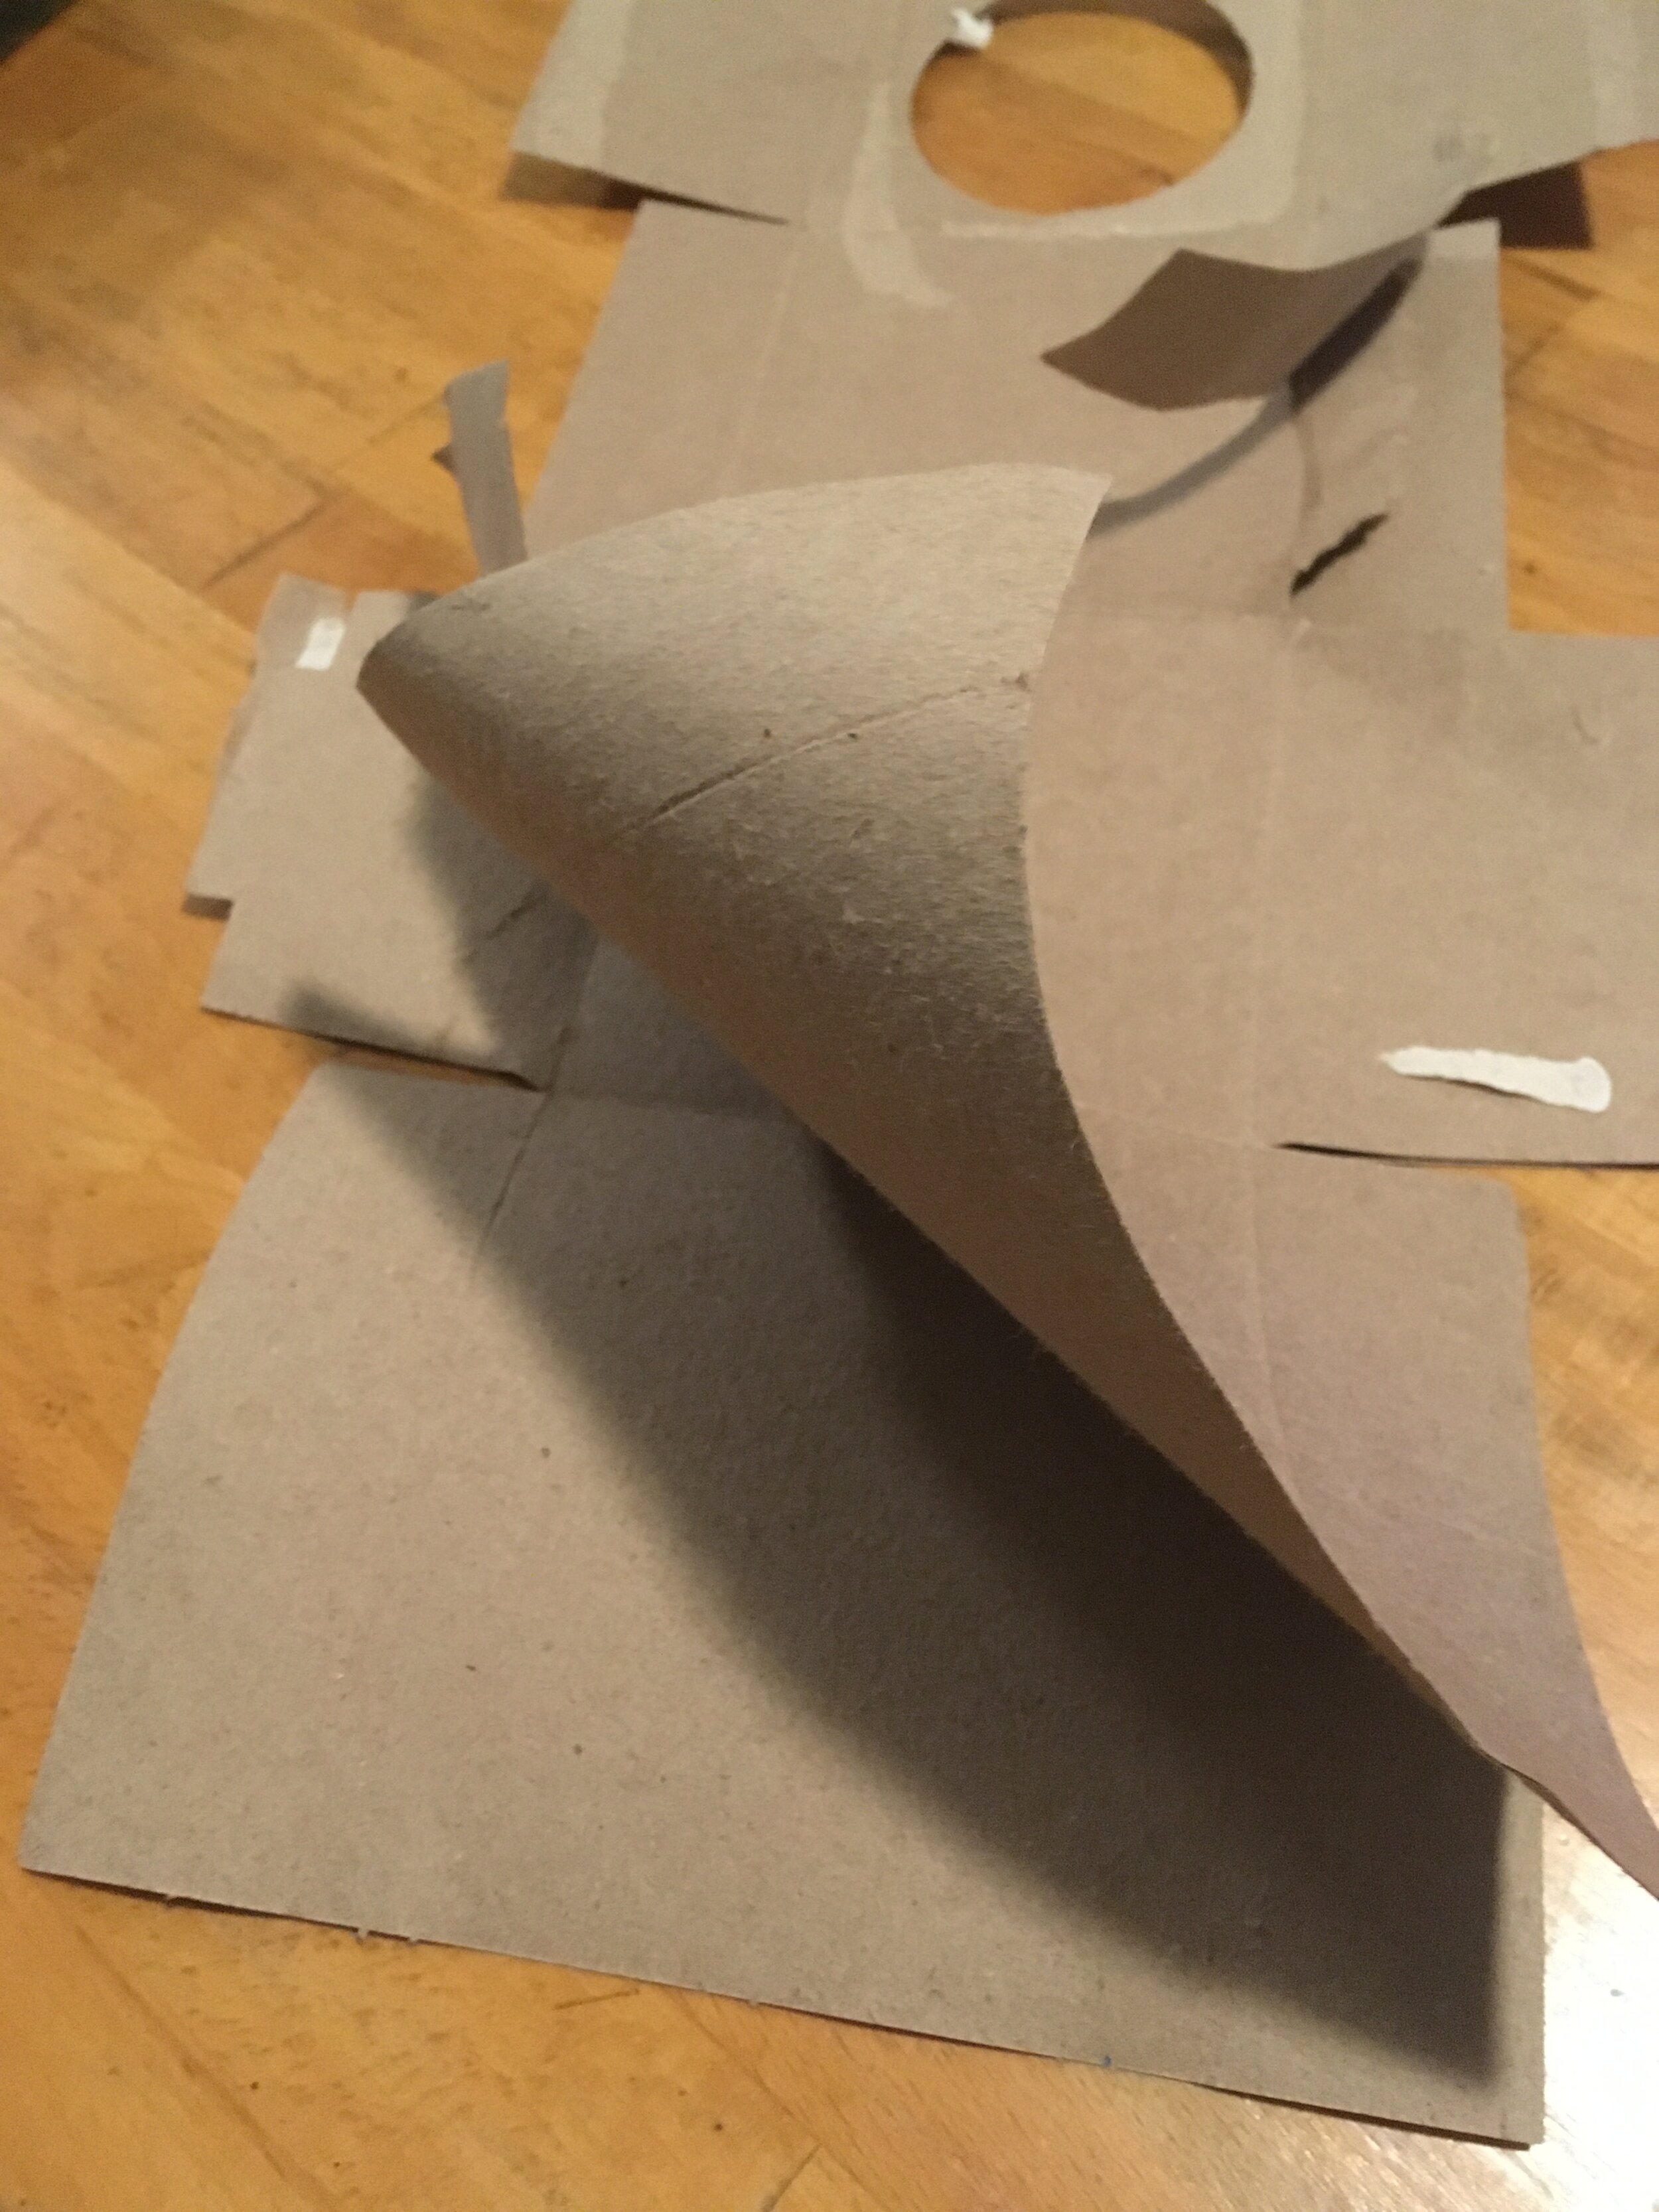
Peel as much of the back off as possible - usually you can start at a corner, perhaps using a knife to get it started. Cardboard is made in layers, so at least half of the thickness should separate pretty easily. Go slowly to avoid ripping the decorative front and do it in sections if necessary.

Wet the remaining back side of the cardboard to loosen up the pulp. I get it pretty wet once, let it sink in (to start to loosen the adhesive that attaches the decorative paper), and then wet it again so it gets really soft. But watch out! Too much water can make the whole thing get too mushy, including the front, so try a small area first to figure out how much water you will need. You may screw up the front a bit - that’s OK - just don’t risk the entire piece while you experiment.

Gently rub the damp-to-wet cardboard so it starts to ball up under your finger and pull away from the decorative paper. As soon as you see the paper, lighten up to avoid ripping! It should roll up in strips, usually in one direction. Starting at the edge is harder, since it is more likely to rip the paper instead of just ball up the cardboard back material.

Slowly pull off strips of the cardboard from the decorative paper until it is all gone, rewetting a bit if necessary as you go. Careful! The decorative paper is usually very thin and fragile, since it was meant to be a glued-on covering, rather than a strong paper on its own.


Now you can use the lighter-weight paper for collages, or wrapping paper, or as a cover for sculptures, etc.